In today’s fast-paced digital economy, mobile wallets like Easypaisa have revolutionized the way people in Pakistan manage money. From sending funds to paying utility bills or shopping online, Easypaisa offers an efficient, secure, and easy-to-use platform. However, users often encounter transaction limits that restrict the full potential of the app. If you’re wondering how to increase your Easypaisa account limit, this article provides a step-by-step guide to help you get more value from your mobile wallet.
Understanding Easypaisa Account Limits
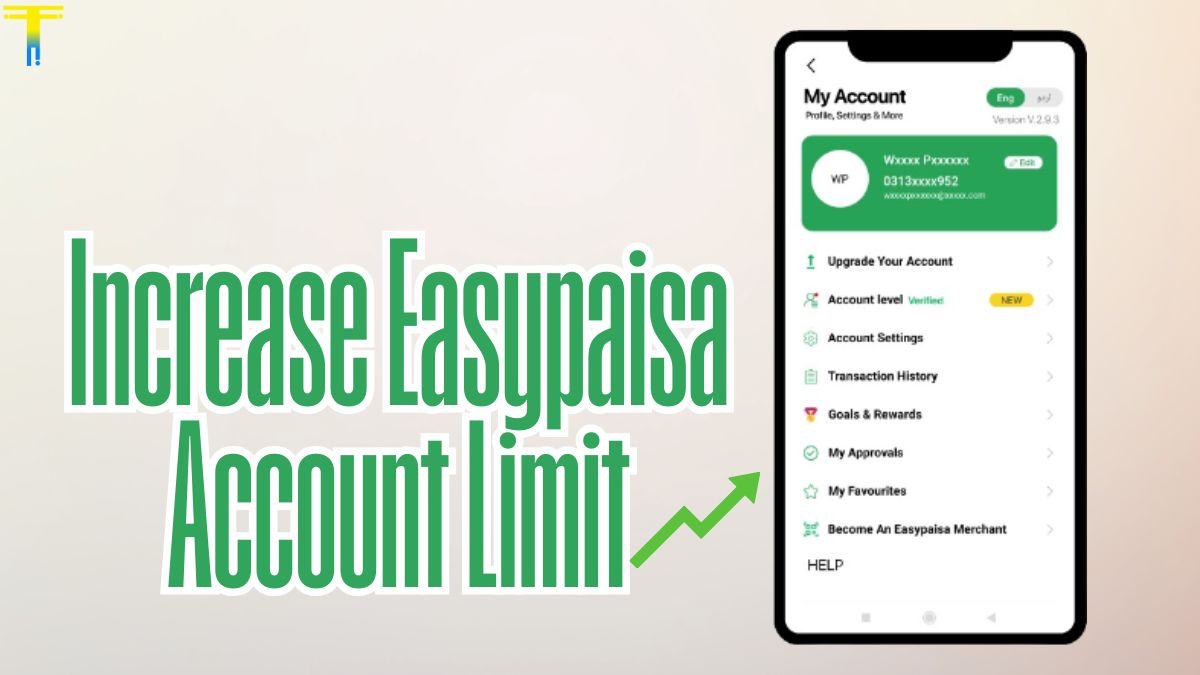
Easypaisa offers different account levels, each with its own transaction and balance limits. These include:
- Level 0 (Basic Account): Lowest limits, typically for unverified or newly created accounts.
- Level 1 (CNIC Verified Account): Improved limits, available after CNIC verification.
- Level 2 (Biometric Verified Account): Highest limit for sending/receiving money and maintaining balance.
As per current policies, a Level 2 account may allow daily transactions of up to PKR 50,000 and a monthly limit of up to PKR 200,000 or more, depending on your usage and verification level.
Why Increase Your Easypaisa Limit?
Here are some common reasons users want to raise their limits:
- Frequent large transactions for business or freelancing.
- Receiving international remittances.
- Paying multiple bills or school fees.
- Sending funds to family in emergencies.
A higher limit offers greater financial flexibility and reduces the need to visit banks or money transfer centers.
How to Increase Your Easypaisa Account Limit: [Step-by-Step]
1. Complete CNIC Verification
If your account isn’t verified, this is your first step.
- Open the Easypaisa app.
- Tap on your profile or the verification banner.
- Enter your CNIC number and issue date.
- Submit and wait for verification confirmation.
This step upgrades your account from Level 0 to Level 1, increasing your basic limits.
2. Visit a Telenor Franchise or Easypaisa Shop for Biometric Verification
To unlock the highest limit, biometric verification is mandatory.
- Take your original CNIC to a Telenor franchise or Easypaisa agent.
- Ask for biometric verification for Easypaisa.
- The agent will scan your thumb/finger using a biometric device.
- Once done, your account will be upgraded to Level 2.
You’ll receive a confirmation SMS and notice an increased transaction capacity.
3. Request Limit Enhancement for Specific Needs
If you need to increase the limit beyond Level 2:
- Call Easypaisa helpline at 3737 (Telenor) or 042-111-003-737 (other networks).
- Explain your use case (e.g., business transactions or higher volume).
- You may be asked to provide additional documents like:
- Business registration certificate
- Invoices or payment receipts
- Income proof
The request is reviewed and approved based on compliance policies.
Tips to Avoid Account Suspension or Delays
- Always use your own CNIC. Avoid registering under someone else’s name.
- Keep your app and CNIC details up to date.
- Don’t exceed daily/monthly limits without prior approval.
- Avoid suspicious or high-risk transactions that could trigger security flags.
Final Thoughts
Increasing your Easypaisa account limit is straightforward if you follow the right steps. By completing biometric verification and reaching out for special needs, you can unlock advanced features and enjoy seamless transactions. Whether you’re a freelancer, entrepreneur, or simply someone who prefers digital finance, a higher Easypaisa limit gives you the flexibility and confidence to manage your money smarter. Thanks For Visiting